Session 7: Emotions with Quarky
Lesson Overview
Quarky is going to be your friend throughout this adventurous journey. So it’s better that you get to know about him. In this lesson, we will do exactly that!
Quarky: Your AI Learning Buddy
Quarky is an electronic board with a lot of features using which you can make numerous exciting projects. You can program Quarky to make expressions, play sounds, detect touch, and much more. Let’s look at its various features.
![]()
You don’t have to remember any of the features right now as we’ll go through each of them, in detail, in the coming lessons.
Quarky Meets PictoBlox
You can control Quarky using PictoBlox, by connecting both of them together. Let’s begin by first connecting Quarky to PictoBlox.
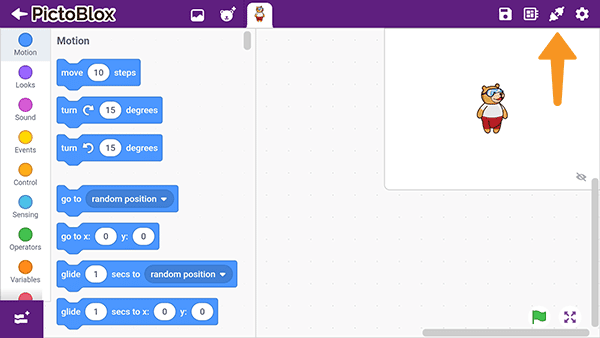
First, choose the type of device you want to use for running PictoBlox. You can use desktop, laptop or your smartphone. Now, follow the below-given instructions -:
Desktop/Laptop
Follow the steps below for connecting Quarky to PictoBlox:
- First, connect Quarky to your laptop using USB cable.
- Next, open PictoBlox on your desktop.
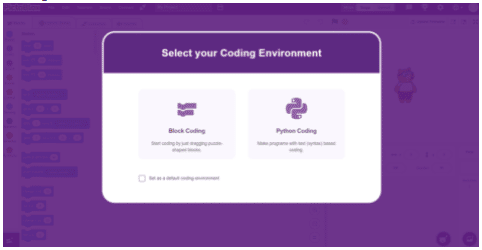
- After that, select Block Coding as your coding environment.
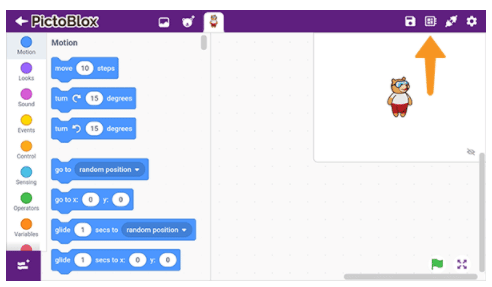
- Then, click the Board button from the toolbar, and select board: Quarky.

- Next, select the appropriate serial port from Serial Ports if you want to connect Quarky via USB. If you want to connect Quarky via Bluetooth, you must download an app called PictoBlox Link on your computer, this is available freely here.
You need to activate this app every time you want to connect with your quarky (or any other board) via bluetooth. Now you can click on Bluetooth Ports and press Connect on the appropriate Device name.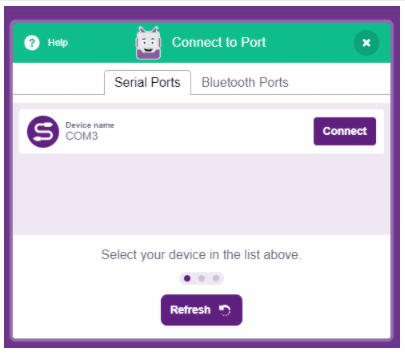
And voila! Quarky is now connected to PictoBlox.
Mobile
Follow the steps below for connecting Quarky to PictoBlox:
- First, power ON Quarky.
- Open PictoBlox on your smartphone. Go to My Space and make a new project by clicking the
‘+'(plus) button in the bottom-right corner.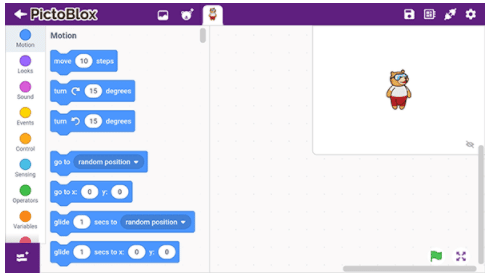
- Then, tap the Board button from the top-right corner of the toolbar.
 Select board as Quarky.
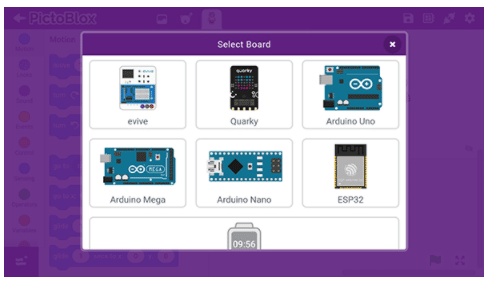
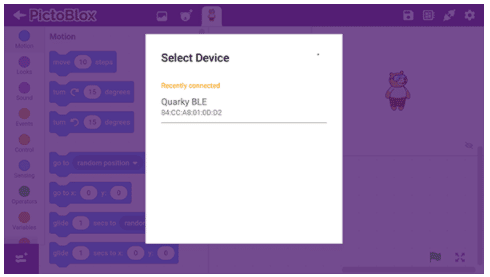
- Next, tap the Connect button:
 Select your device from the list.

And voila! Quarky is now connected to PictoBlox. Now, let’s make a script in PictoBlox to display expressions on Quarky’s matrix!
Let’s Code!
One-Time Display
Follow the steps below, to make the script for displaying expressions on Quarky:
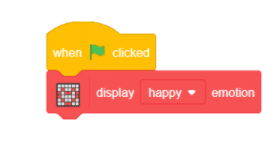
- First, go to the Display palette and add a display () emotion block into the scripting area. Then, from the drop-down, select happy.
- Click the display () emotion block. You’ll notice that Quarky is now happy!

Is there any way through which you don’t have to always click on the block to run it? Yes, there is – the hat blocks from the Events palette. The hat blocks in PictoBlox allow you to decide an event that would automatically execute the script. PictoBlox has several hat blocks in the Events palette. The most commonly used block is the when flag clicked block. - Drag and drop the when flag clicked block into the scripting area from the Events palette.
- Run the script by clicking the green flag.
- Don’t forget to save your script by the name Emotions with Quarky.
Other LED Emotions: Like angry, disco, love, etc.
You can display these emotions by clicking on the dropdown of display () emotion
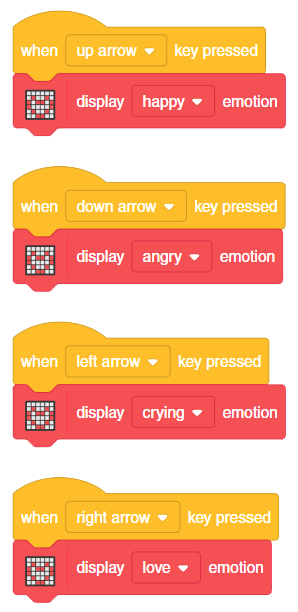
Exercise: Create a script that changes Quarky’s emotions when different keys are pressed on the keyboard.
Assignment
Before moving on to the next lesson, a small assignment awaits you!
You must upload the PictoBlox program you created in this activity to the website. Submitting the assignment is a must in order to receive the certificate after completing the course.
Follow the steps below to upload your assignment:
- Click on Browse.
- Search and Select your saved Project file(.sb3) and Click Open.
- Click on Upload to submit the assignment.

Good luck!