Lesson 1,
Topic 1
In Progress
Activity: Make Your Robot Move
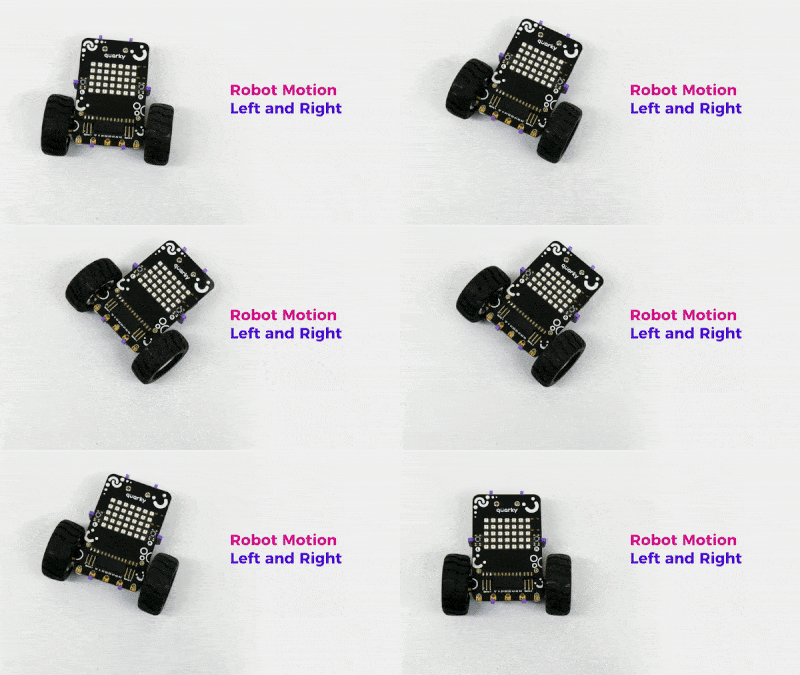
In this activity, we will be making our Quarky move.

Let’s Code!
The code is pretty simple, let’s get straight into it, follow the below steps:
- Let’s begin by first connecting Quarky to PictoBlox:
- First, connect Quarky to your laptop using the USB cable.
- Open PictoBlox and create a new file. Select the coding environment as Python Coding.
- Select the Board as Quarky. Next, select the Serial port to connect Quarky and press Connect.
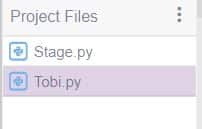
- Now, select the Tobi.py file from the Project Files section and by default, the syntax will be written in sprite as an object.

sprite = Sprite('Tobi') - We would be using Quarky in this activity, so we would also be writing quarky-related functions and for writing those functions we need to define an object for quarky in the same manner as we did for the sprite.
quarky = Quarky() - We need to use time module in python. As we want to have a certain time gap between the display of two emotions on quarky. Python time module allows to work with time in Python. So before starting with this module we need to import it.
import time - Now , we will be writing the while loop by providing the condition as while True, this implies that the loop should keep on executing until the given boolean condition is evaluated to False. If we write while True then the loop will run forever.
while True: - Now we want our Quarky to move its left wheel in the forward direction with a speed of 50%.
quarky.runmotor("L", "FORWARD", 50) - Now, for adding a time delay of 1 second after forward motion, we will be using time.sleep() function.
time.sleep(1) - To stop the left motor, we will be using the following function.
quarky.stopmotor("L") - Again, a delay of 0.5 seconds is added after completing the forward motion.
time.sleep(0.5) - Now, our complete, function would look like this:
sprite = Sprite('Tobi') quarky = Quarky() import time while True: quarky.runmotor("L", "FORWARD", 50) time.sleep(1) quarky.stopmotor("L") time.sleep(0.5) - Similarly, we have to define a function for backward direction of left wheel.
quarky.runmotor("L", "BACKWARD", 50) time.sleep(1) quarky.stopmotor("L") time.sleep(0.5) - Now, our complete, function for moving the left wheel in forward and backward direction would look like this:
sprite = Sprite('Tobi')
quarky = Quarky()
import time

S = 50
T = 0.5

while True:
  quarky.runmotor("L", "FORWARD", S)
  time.sleep(T)
  quarky.stopmotor("L")

  quarky.runmotor("R", "FORWARD", S)
  time.sleep(T)
  quarky.stopmotor("R")
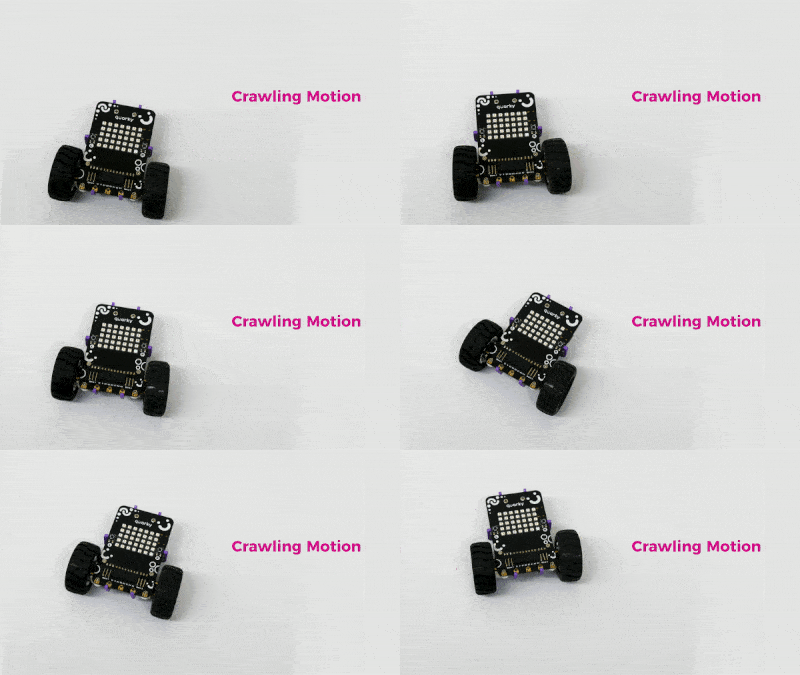
Making Quarky to Crawl
- Now, we can make Quarky crawl by controlling the left and right motors. Our complete code looks like this.
sprite = Sprite('Tobi')
quarky = Quarky()
import time

while True:
  quarky.runmotor("L", "FORWARD", 50)
  time.sleep(1)
  quarky.stopmotor("L")

  quarky.runmotor("R", "FORWARD", 50)
  time.sleep(1)
  quarky.stopmotor("R")

Adding Variables
We can also control the motors by assigning their speed value and the time to the variables “S” and “T”. Now we can rewrite our code as,
sprite = Sprite('Tobi')
quarky = Quarky()
import time

S = 50
T = 0.5

while True:
  quarky.runmotor("L", "FORWARD", S)
  time.sleep(T)
  quarky.stopmotor("L")

  quarky.runmotor("R", "FORWARD", S)
  time.sleep(T)
  quarky.stopmotor("R")
Upload the Assignment
Submitting the assignment is a must in order to receive the certificate after completing the course.
Follow the steps below to upload your assignment:
- First, you need to choose your Pictoblox file, thus click on Browse.
- Select your .sb3 file.
- And click the Upload button.
Good luck! 🙂

The file type allowed is SB3 file generated from the PictoBlox program. The maximum file size allowed is 15 MB.

