Lesson 1,
Topic 1
In Progress
Activity 2: Name Badge with Quarky
Making Your Own Name Badge – Overview
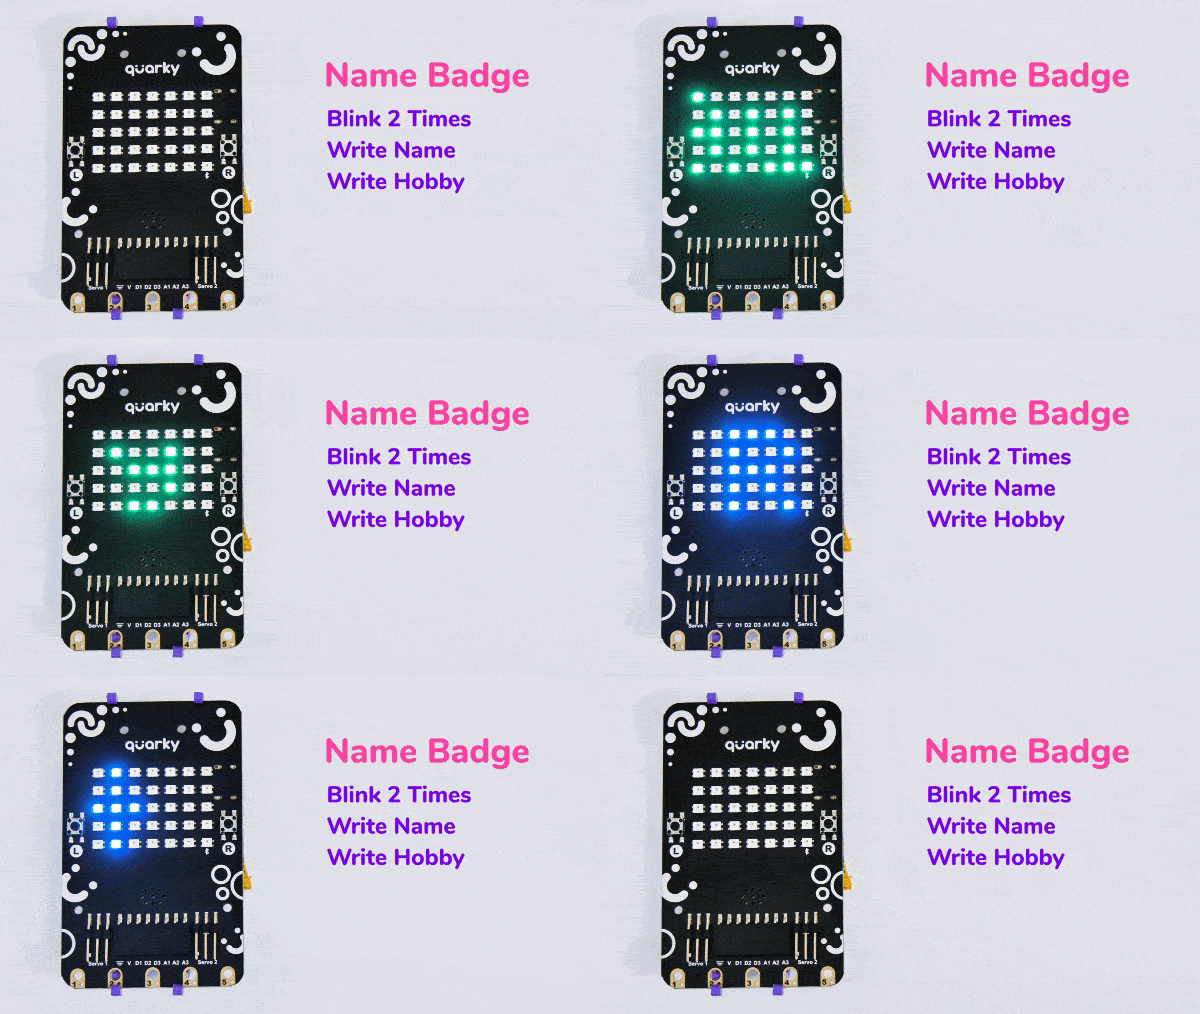
You can use Quarky to display text too. Let’s make a script to display Quarky’s name on the matrix.


Let’s Code!
Follow the steps below:
- Let’s begin by first connecting Quarky to PictoBlox:
- First, connect Quarky to your laptop using the USB cable.
- Open PictoBloxand create a new file. Select the coding environment as Python Coding.
- Select the Board as Quarky. Next, select the Serial port to connect Quarky and press Connect.
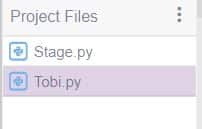
- Now, select the Tobi.py file from the Project Files section and by default, the syntax will be written in sprite as an object.

sprite = Sprite('Tobi') - We would be using Quarky in this activity, so we would also be writing quarky related functions and for writing those functions we need to define an object for quarky in the same manner as we did for the sprite.
quarky = Quarky() - For setting the brightness of pixels on Quarky’s display, we will be using setbrightness() function along with quarky’s object which we have defined.
quarky.setbrightness(15) - Now , we will be writing the while loop by providing the condition as while(1) , this implies that the loop should keep on executing to display the output according to the statements mentioned inside the loop.
while 1: quarky.showanimation("blink") quarky.showanimation("blink") quarky.showscrollingtext("Quarky", 2, [0, 255, 0]) quarky.showscrollingtext("Robotics", 2, [0, 0, 255])- We will be using showanimation() function to display blinking animation on Quarky. Using this function twice implies that the action of blinking should be performed twice on Quarky’s display.
- Then, we will be using showscrollingtext() function to display “Quarky” .
- The syntax of showscrollingtext() function is:
showscrollingtext([1],[2],[3]) [1]:String-TEXT="Quarky"([1]:String) [2]:String-SPEED=2 ([2]:{1,2,3}) [3]:Num_Array-COLOR=[R,G,B] ([3]:R-(0-255),G-(0-255),B-(0-255))quarky.showscrollingtext("Quarky", 2, [0, 255, 0]) - Then, we will be using the same function to display “Robotics” as well.
quarky.showscrollingtext("Robotics", 2, [0, 0, 255])
- The syntax of showscrollingtext() function is:
- At the end, we will be using cleardisplay() function to clear Quarky’s display.
quarky.cleardisplay()
- Finally, the complete code would look like:
sprite = Sprite('Tobi')

quarky = Quarky() # defined the object related to quarky in order to use quarky related functions
quarky.setbrightness(15) #sets brightness of pixels on quarky's display to 15

while 1:
  quarky.showanimation("blink") # this function shows animation on quarky's display
  quarky.showanimation("blink")
  quarky.showscrollingtext("Quarky", 2, [0, 255, 0]) # this function scrolls the text in Quarky's display
  quarky.showscrollingtext("Robotics", 2, [0, 0, 255])

quarky.cleardisplay() # this function clears the quarky's display
Upload the Assignment
Submitting the assignment is a must in order to receive the certificate after completing the course.
Follow the steps below to upload your assignment:
- First, you need to choose your Pictoblox file, thus click on Browse.
- Select your .sb3 file.
- And click the Upload button.
Good luck! 🙂

